I created the model in 3ds max which i wanted to get the full volumes before sculpting in Zbrush, which i later did to bring out the fine details. With this sculpt a normal map generated at 1024x1024 was applied to the head at its lowest level to see how effective the normal map is. Here are the images, just click for a full view.

^ These are a few of the reference images I used of Brian Thompson.
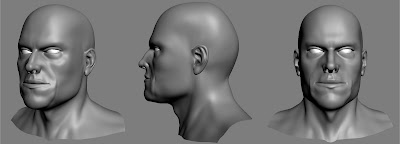
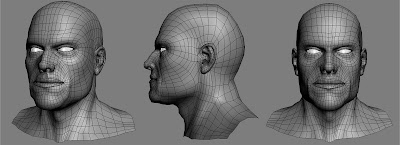
^This is the original model which I created in 3ds max and I sub-divided it to make sure the mesh clean.
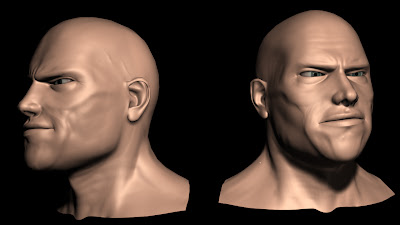
^This is the original mesh with a normal map applied as a test to show how it would work with a low poly object.
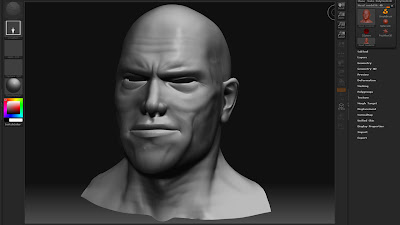
^This is the Zbrush sculpt, took me about a day and a half but i feel it needs more work.
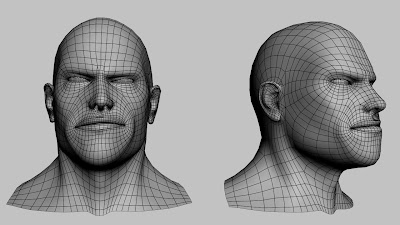
^This is the model that was exported from Zbrush since the mesh has changed from the original, and the bottom image shows the that low poly head with the 1024x1024 normal map applied on top. Normally an optimized game mesh would be created and then a normal map generated, but this was a simple exercise.
No comments:
Post a Comment